Embedding asciinema cast in your Hugo site
Overview
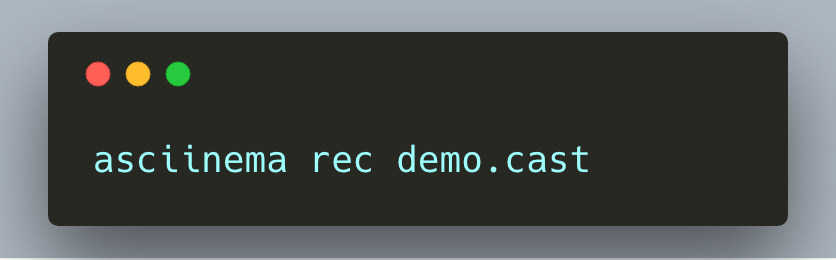
Embedding videos in your blog could be overwhelming and time-consuming. Alternatively, you could use asciinema player to replay a sequence of steps of your terminal on your blog website. Of course, firstly, you need to record your terminal session via asciinema and save the output in a filename.
Using asciinema.org - The easy way
You could use asciinema in your blog content by embedding a snippet similar to this:
<script src="https://asciinema.org/a/186686.js" id="asciicast-186686" async></script>
Although this method works well, you can use asciinema without uploading the cast file on the asciinema site.
Setup Asciinema Player - On your blog website
Download the player
Download the latest asciinema-player from the github release page. Example: v3.2.0 version
Put those files in different directories of your hugo site respectively, example: static/css and static/js
Setup your hugo templates
Insert this code inside the head template section: layouts/partials/_shared/head.html
{{ if .Params.asciinema }}
<link rel="stylesheet" type="text/css" href="{{ .Site.BaseURL }}/css/asciinema-player.css" />
{{ end }}
I use a parameter in each blog page to enable this block. So, the if condition is “optional” to use.
Create a shortcode
Create a shortcode file. Example: layouts/shortcodes/asciinema.html with this content:
<div id='{{ with .Get "key" }}{{ . }}{{ end }}'></div>
<script src="{{ .Site.BaseURL }}/js/asciinema-player.min.js"></script>
<script>
    AsciinemaPlayer.create('/casts/{{ with .Get "key" }}{{ . }}{{ end }}.cast', document.getElementById('{{ with .Get "key" }}{{ . }}{{ end }}'), {
        {{ if .Get "cols" }}cols: "{{ .Get "cols" }}",{{ end }}
        {{ if .Get "rows" }}rows: "{{ .Get "rows" }}",{{ end }}
        {{ if .Get "autoPlay" }}autoPlay: "{{ .Get "autoPlay" }}",{{ end }}
        {{ if .Get "preload" }}preload: "{{ .Get "preload" }}",{{ end }}
        {{ if .Get "loop" }}loop: "{{ .Get "loop" }}",{{ end }}
        {{ if .Get "startAt" }}startAt: "{{ .Get "startAt" }}",{{ end }}
        {{ if .Get "speed" }}speed: "{{ .Get "speed" }}",{{ end }}
        {{ if .Get "idleTimeLimit" }}idleTimeLimit: "{{ .Get "idleTimeLimit" }}",{{ end }}
        {{ if .Get "theme" }}theme: "{{ .Get "theme" }}",{{ end }}
        {{ if .Get "poster" }}poster: "{{ .Get "poster" }}",{{ end }}
        {{ if .Get "fit" }}fit: "{{ .Get "fit" }}",{{ end }}
        {{ if .Get "terminalFontSize" }}terminalFontSize: "{{ .Get "terminalFontSize" }}",{{ end }}
        {{ if .Get "terminalFontFamily" }}terminalFontFamily: "{{ .Get "terminalFontFamily" }}",{{ end }}
        {{ if .Get "terminalLineHeight" }}terminalLineHeight: "{{ .Get "terminalLineHeight" }}",{{ end }}
     });
</script>
The options used are documented here.
Upload an asciinema content
-
Create a new cast and upload it in a static directory, example:
static/casts/demo.cast. -
Call the asciinema player in your page, using this code block (the shortcode asciinema previosly configured):
{{< asciinema key="demo" >}} -
(Optional) In my case, I need to include
asciinema: truein the markdown options to make sure the css assets will be included. I prefer to do this, to load the css file for only some blog pages.--- title: Kubernetes Backup - ARK description: Kubernetes backup process using ark asciinema: true tags: - kubernetes ---
Demo
Asciinema-player in action: